Creating an Applet
To create a new applet, sign in and click the + Create Applet button in the top right corner of the dashboard.
Note that your applet will be created inside the workspace that you're currently viewing. You can change workspaces or create new ones by clicking the workspace name dropdown in the top left of the page.
When creating a new applet, you'll be asked to provide a name, which will be used to generate a unique URL for the applet. Your applet's URL will be in this format: https://<applet-name>.zipper.run. Your applet name can be changed later, which will subsequently change your applet URL. So, any previous links that were shared will no longer work.
Using AI to get started
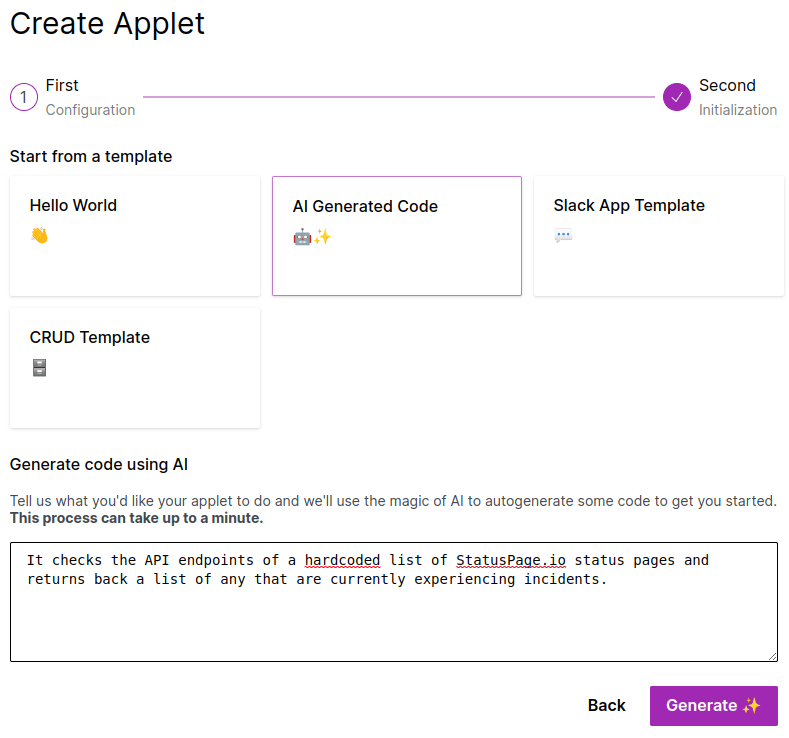
If you have already an idea of what you want to build, you can use Zipper's "AI Generated Code" template to get started. Type in a description of what you want to build, and Zipper will generate code for you. The code generation step can take some time, so be patient while the machines do their thing. After the code has been generated, you'll still be able to edit it (there are often some bugs in the generated code, so you'll probably need to make some changes).
Visibility
Every applet has two visibility settings: code and output.
Applet code
If the code for an applet is public ("Is the code private?" turned off), the applet will show up on the user's (or organization's) profile. Anyone will be able to view the code, whether they’re a Zipper user or not. However, they won't be able to see schedules, secrets, app history, or settings.

Although the code is viewable by the public, only organization members or invited editors will be able to make changes.
Applet output
If an applet is configured with "Require auth to run?" turned off, then anyone will be able to access your applet URL to run the applet and view its output. Run history URLs will also work for everyone with the link.

If the output of an applet is not public, users will be asked to authenticate against Zipper before they can run an applet or any of its paths. The email address of the authenticated user will be included in the context object that is passed to the handler function.
