Basic Concepts
Applets
An applet is made up of files that can import and export TypeScript modules, just like any other TypeScript project. Each applet is deployed to a working URL on Zipper's run domain: zipper.run.
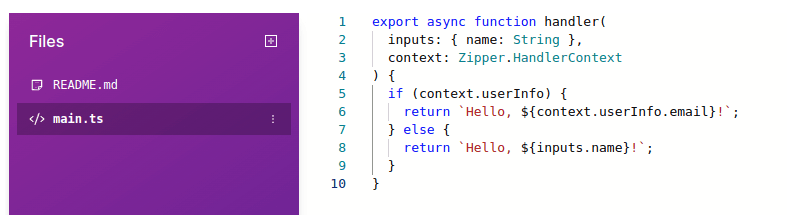
Every applet requires a main.ts file that exports a function named handler. This handler function defines the behavior of the applet at its URL.
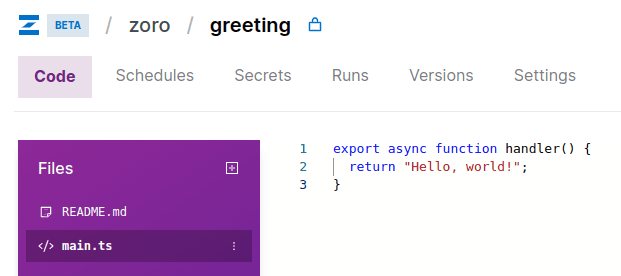
Since the applet above is named "greeting", the handler function in main.ts would be responsible for the behavior of https://greeting.zipper.run.
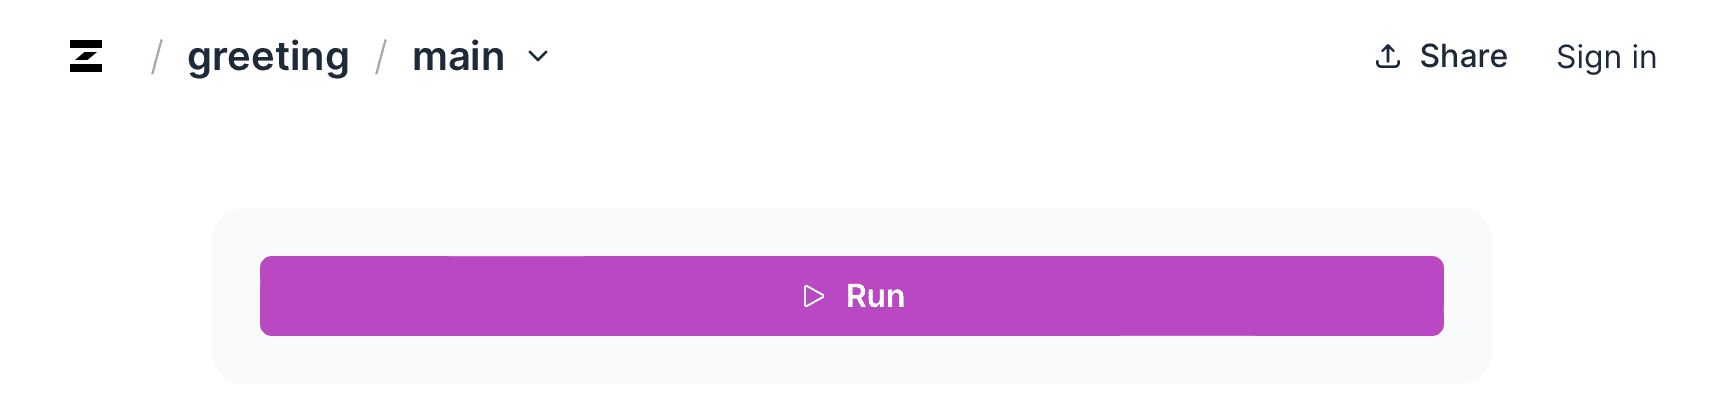
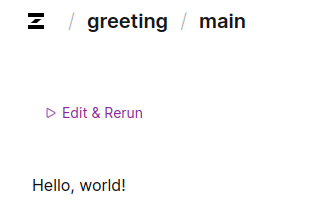
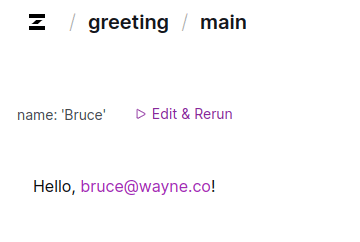
When you click ▷ Run, the applet outputs the following results:
Handler function
Handler functions only need to deal with the business logic of your task. Zipper will handle all the inputs and outputs.
Inputs
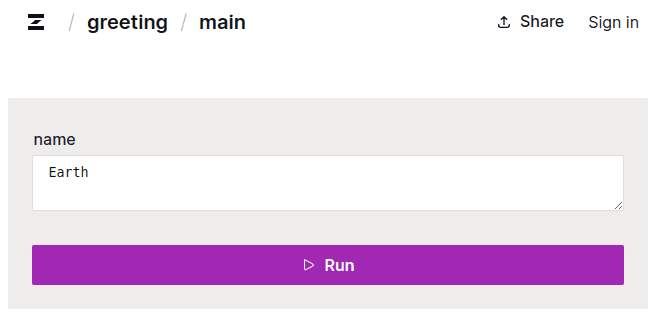
Your applet can take inputs if you write your handler function to accept arguments. Based on those argument types, Zipper will generate a UI form so that applet users can supply the input values. For example, let's modify the handler function in applet to accept a string called name.

The updated applet now includes a form field for users to input a name.
For more details on how to work with inputs, see the Accepting Inputs section.
Output
Your handler function can output more than just strings—objects, arrays, arrays of objects, and even HTML. Zipper formats the output to be pretty and human readable, and it even includes some basic pre-built UI components to make your applet more powerful. For more on working with outputs, see the Customizing Output section.
Context
Through the handler's context object, you have access to special information about the applet or the specific run. This object is passed as the second argument to the handler function. To make it easy and safe to see what you might have in the context argument, you can use the Zipper.HandlerContext type.
For example, let’s say you wanted to see if someone is signed into Zipper when they run your applet, and you want to use their email instead of the name input they passed. In this case, you would look for context.userInfo for contextual information about the user running the applet.
If you were logged in as "Bruce" from "Wayne Co", then your output might look like this:
Running your applet
There are multiple ways that you can run your applet and supply your inputs:
Within the browser
- Visit the applet's URL in your browser. Manually supply the inputs, and then click ▷ Run.
- Visit the applet's URL in your browser with query parameters appended:
https://greeting.zipper.run/?name=Earth. This will pre-fill your form, but it will not run your applet.
To /run (also known as the "run URL")
Your applet's "run URL" runs the applet in your browser immediately, without requiring the user to click ▷ Run. You can supply inputs through query parameters.
- Visit the applet's URL in your browser with
/runand query parameters appended:https://greeting.zipper.run/run?name=Earth.
API calls
To /api
- Send a
GETrequest to the applet's URL with/apiand query parameters appended:curl -X GET https://greeting.zipper.run/api?name=Earth - Send a
POSTrequest with a JSON payload to the applet's URL with/apiappended:curl -X POST --header "Content-type:application/json" --data '{ "name": "Earth" }' https://greeting.zipper.run/api
The response to these requests will be a JSON object that includes applet run metadata. The applet output can be found in the response object's data field.
Example:
$ curl -X POST \
       --header "Content-type:application/json" \
       --data '{ "name":"Earth"}' \
       https://greeting.zipper.run/api

{
  "ok": true,
  "data": "Hello, Earth!",
  "__meta": {
    "request": {
      "executionId": "5c74d40c-b4df-41ae-900c-3eaebb9a1d65",
      "server": "deno/aws-us-west-1",
      "timing": "system;dur=0,deployment;dur=1"
    }
  }
}
To /raw
- Send a
GETrequest to the applet's URL with/rawand query parameters appended:curl -X GET https://greeting.zipper.run/raw?name=Earth - Send a
POSTrequest with a JSON payload to the applet's URL with/rawappended:curl -X POST --header "Content-type:application/json" --data '{ "name": "Earth" }' https://greeting.zipper.run/raw
The response to these requests will the actual function response data (without any applet run metadata).
Example:
$ curl -X POST \
       --header "Content-type:application/json" \
       --data '{ "name":"Earth"}' \
       https://greeting.zipper.run/raw

Hello, Earth!
For more detailed information on working with HTTP requests, see the API Endpoints section.
Paths
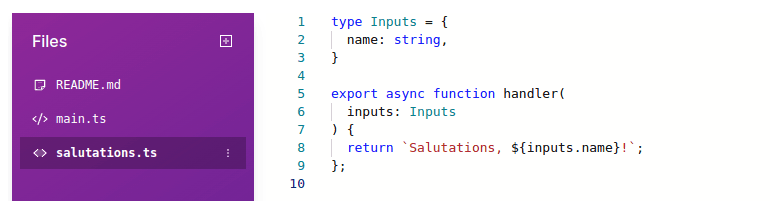
main.ts is not the only file in your applet that can export a handler function. You can create other paths for your applet by adding new files that export their own handler functions. For example, let's say that you wanted to create a new path at https://greeting.zipper.run/salutations. To do this, create a file called salutations.ts file (the path will match everything before the .ts in the filename) that exports a function name handler.
Paths can be run independently, so you can test each function individually.
Note on path names
Because of Zipper's special usage of the /run, /api, and /raw paths (see Running your applet), avoid naming files in your project with these names, as they will be ignored.
Library files
Files you create are not required to export a handler function. This will make it a library file, which you can use to share code throughout your applet like a typical TypeScript module.
Config
Your files can also export a config object that customizes the in-browser run of your applet. For example, if you’d like your handler function to run when a user loads the page (instead of requiring them to supply inputs and click ▷ Run), you would do this:
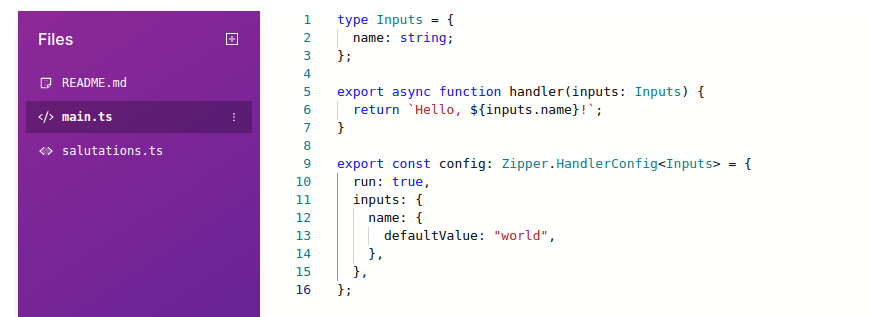
Since it’s set to run: true and we’ve provided a defaultValue for name, the applet will run immediately upon visit.
For more details, see the Config section.